
This is the first post in our Pi-IoT post series (UPDATED – 5/22/2019).
Technology
Credit where Credit is Due
I owe a big thanks to the fine folks over at Hypriot for all their work in this area. Their initial post on this subject was a good starting point but has become stale and incorrect due to some critical updates with docker and kubernetes.
Flash HypriotOS on your SD cards
You can find the latest release at HypriotOS. They also provide a pretty handy flash tool which you can use like:
|
1 2 3 |
flash --hostname enterprise https://github.com/hypriot/image-builder-rpi/releases/download/v1.10.1/hypriotos-rpi-v1.10.1.img.zip |
The --hostname enterprise is the name given to the Pi.
Using the Onboard WiFi
In order to use the onboard wifi, you will need to use the --userdata option and supply a user-data.yml file. This will look something like:
|
1 2 3 4 5 6 7 8 9 10 11 12 13 14 15 16 17 18 19 20 21 22 |
#cloud-config # Set your hostname here, the manage_etc_hosts will update the hosts file entries as well hostname: black-pearl manage_etc_hosts: true # You could modify this for your own user information users: - name: pirate gecos: "Hypriot Pirate" sudo: ALL=(ALL) NOPASSWD:ALL shell: /bin/bash groups: users,docker,video plain_text_passwd: hypriot lock_passwd: false ssh_pwauth: true chpasswd: { expire: false } package_upgrade: false # # WiFi connect to HotSpot # # - use <code>wpa_passphrase SSID PASSWORD</code> to encrypt the psk write_files: - content: | allow-hotplug wlan0 iface wlan0 inet dhcp wpa-conf /etc/wpa_supplicant/wpa_supplicant.conf iface default inet dhcp path: /etc/network/interfaces.d/wlan0 - content: | ctrl_interface=DIR=/var/run/wpa_supplicant GROUP=netdev update_config=1 network={ ssid="YOURSSID" psk="YOURPASSWORD" proto=RSN key_mgmt=WPA-PSK pairwise=CCMP auth_alg=OPEN } path: /etc/wpa_supplicant/wpa_supplicant.conf # These commands will be ran once on first boot only runcmd: # Pickup the hostname changes - 'systemctl restart avahi-daemon' # Activate WiFi interface - 'ifup wlan0' |
Note that the --hostname option used earlier overrides the hostname set in the user-data.yml file above.
After flashing the OS to the SD cards, install them in your Pi’s, boot them up and log in via SSH
|
1 2 3 |
ssh pirate@enterprise.local |
with a default password of hypriot
Install Kubernetes
To install kubernetes, we will add the official APT kubernetes repository on each node. This will require root privileges. Using sudo you can set your user to root like
|
1 2 3 |
sudo su - |
then
|
1 2 3 4 |
curl -s https://packages.cloud.google.com/apt/doc/apt-key.gpg | apt-key add - echo "deb http://apt.kubernetes.io/ kubernetes-xenial main" > /etc/apt/sources.list.d/kubernetes.list |
then just install kubeadm on every node
|
1 2 3 |
apt-get update && apt-get install -y kubeadm |
Initialize Kubernetes on the master node
|
1 2 3 |
$ kubeadm init --pod-network-cidr 10.244.0.0/16 |
--pod-network-cidr– This option is needed because we are using flannel to provide virtual subnets for kubernetes. We use the provided subnet because the flannel configuration file that we use predefines the equivalent subnet.- If you are using the WIFI network instead of ethernet, you need to add
--apiserver-advertise-address 192.168.1.223where 192.168.1.223 is changed to the actual IP address on your network of the master Pi. You can find this by running:
|
1 2 3 |
$ ifconfig |
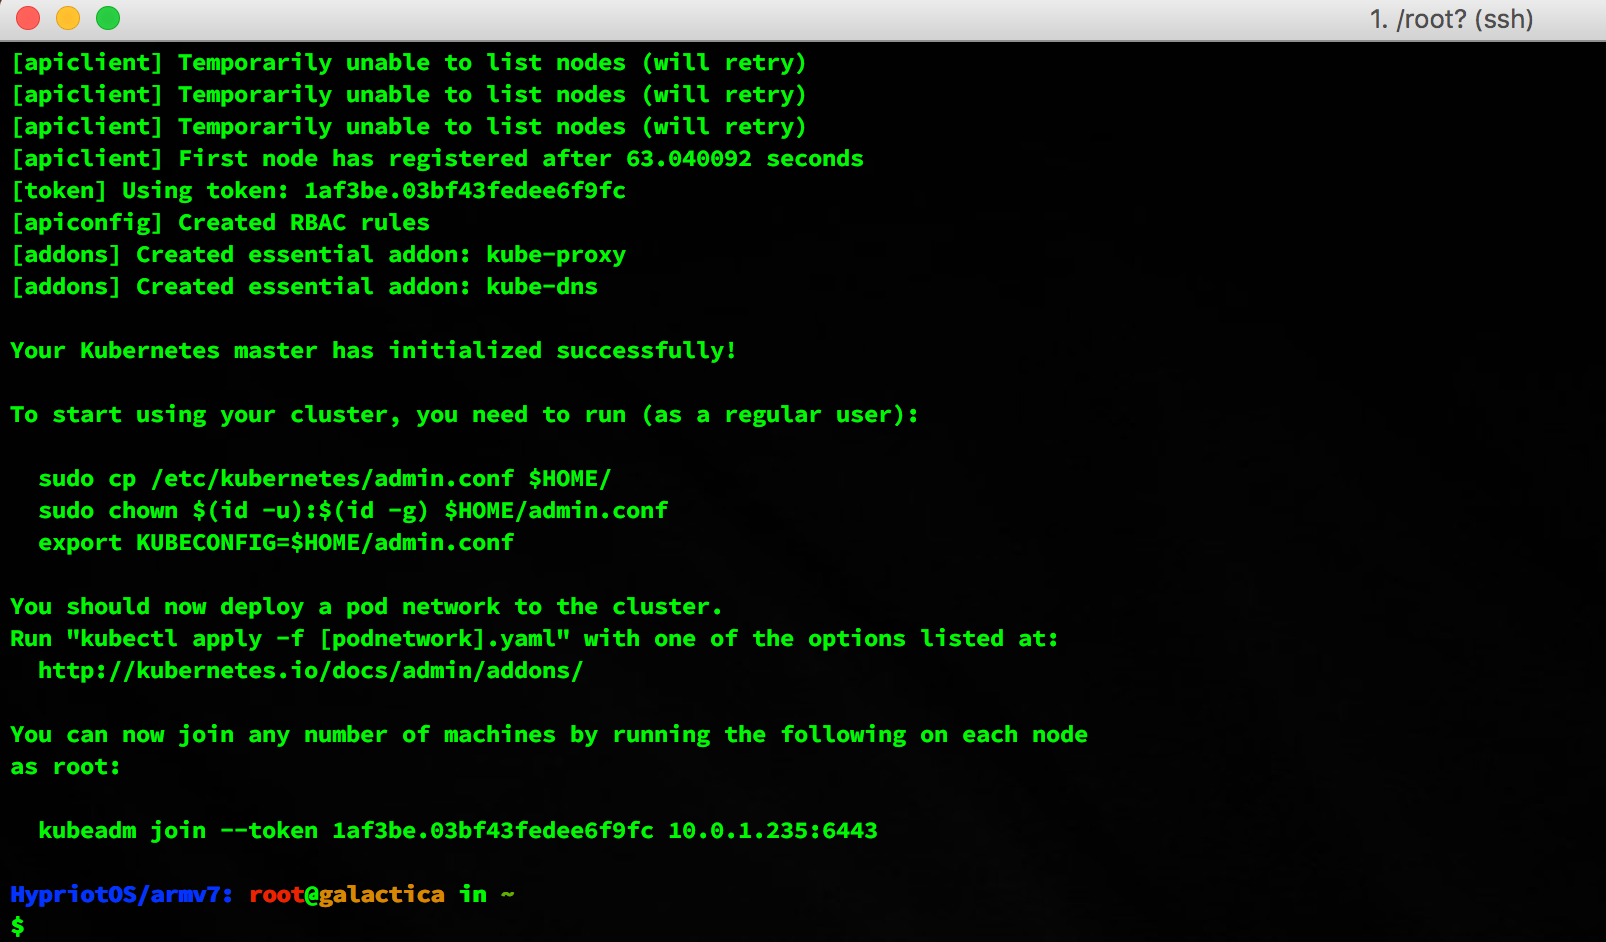
After Kubernetes has been initialized, the last lines of your terminal should look like this:

On the master node, exit su and by running the commands below you can now start using your cluster as a regular user:
|
1 2 3 4 5 |
sudo cp /etc/kubernetes/admin.conf $HOME/ sudo chown $(id -u):$(id -g) $HOME/admin.conf export KUBECONFIG=$HOME/admin.conf |
On each other node, execute the kubeadm join command given in the output to join the cluster. (Note: master node’s hostname can be used instead of IP). It will look something like:
|
1 2 3 |
$ kubeadm join --token=bb14ca.e8bbbedf40c58788 192.168.0.34 |
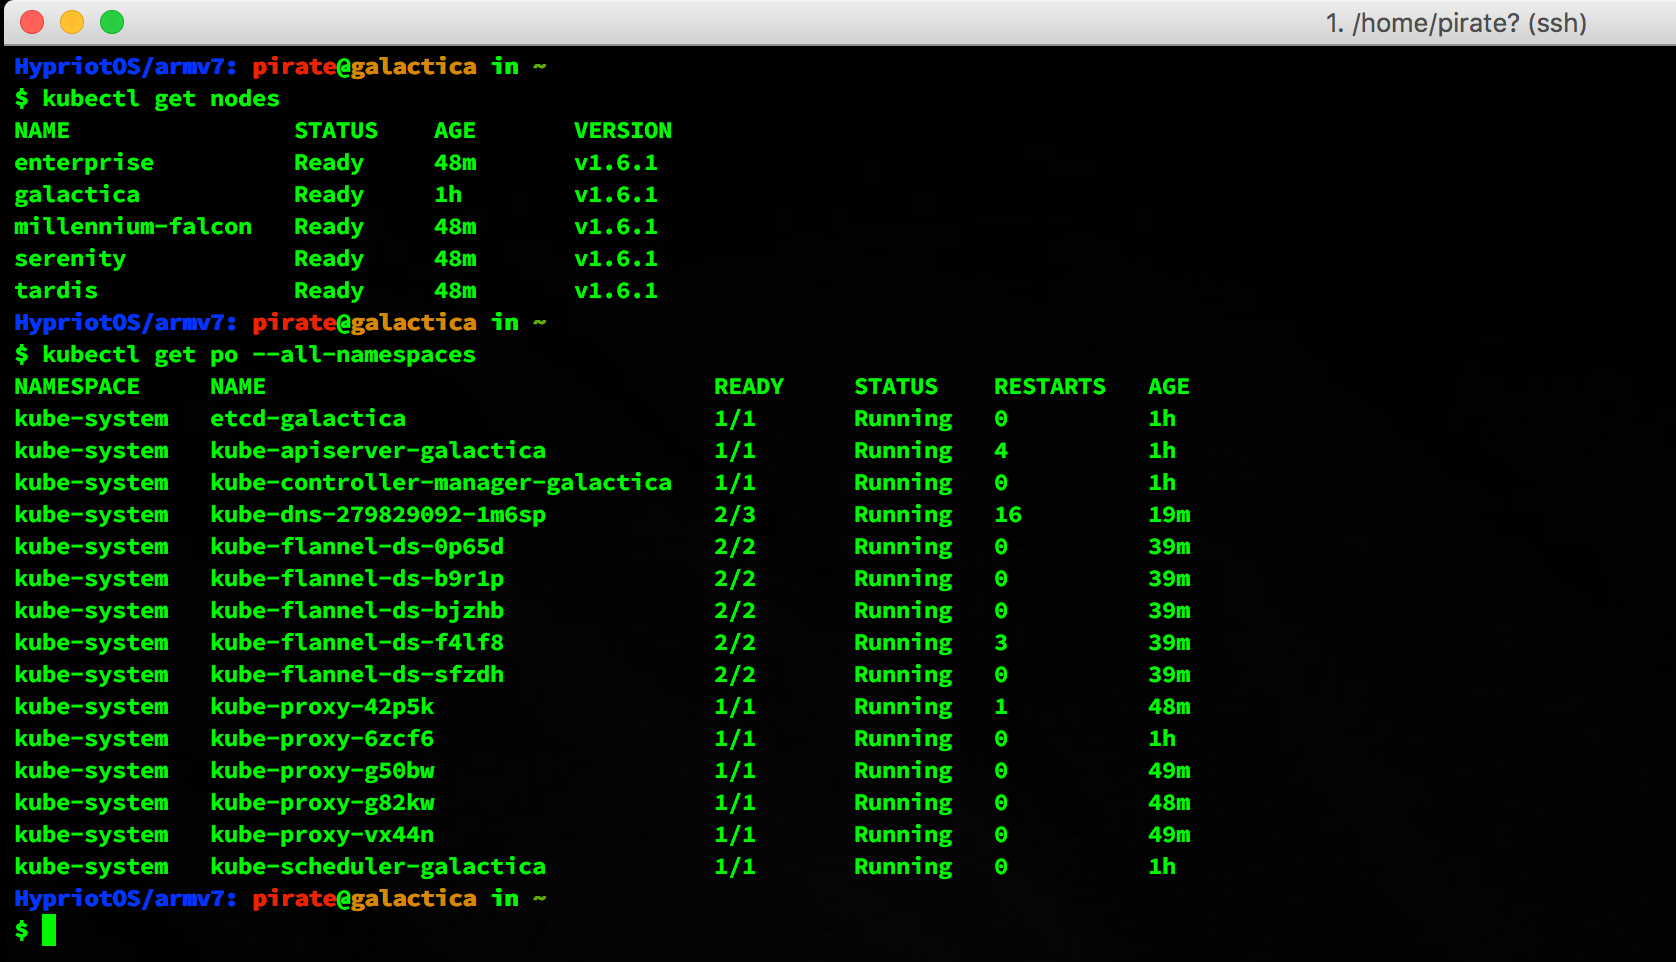
After some seconds, you should see all nodes in your cluster when executing the following on the master node:
|
1 2 3 |
$ kubectl get nodes |
Your terminal should look like this:

Setup flannel as the Pod network driver
Run this on the master node:
|
1 2 3 |
$ kubectl apply -f https://raw.githubusercontent.com/coreos/flannel/master/Documentation/kube-flannel.yml |
Wait until all flannel and all other cluster-internal Pods are Running before you continue.
Check the status by:
|
1 2 3 |
$ kubectl get po --all-namespaces |

Now we have a working kubernetes cluster running on our raspberry pis.
Next post, let’s test our cluster with a simple deployment


Social Media